The Tray
PROCESS:
1. Here I measured and cut out the desired shape of the tray from an aluminium sheet, with a specific size of 80mm corners.
2. This is marking up is assisted with using the provided laser cut template for reference.
3. Next I made a hammer forming buck out of 1.5mm plywood that uses the templates measurements, also filed the sheet edges for safety when handling.
4. Here we start shaping and folding the edges towards a 90 degree bend in a table vice, this had to be done with caution, precision and steadiness to avoid creases at the corners. This takes the most time of the making process.
5. After shrinking and bending the entire edge of the aluminium sheet, the plywood bucks had to be removed from the tray form with some tapering.
6. Filing high spots and sharp cuts on the edges were done whilst a uniform measurement of a 10mm edge was the result.
7. Here I used the template to check the curvature of the edges, also I hammered flat any uneven areas across the base of the tray and referred back to the plywood bucks for checking form.
FINISHING:
1. Using a waterproof 400p sandpaper.
2. Wiping down with methylated spirits.
3. Applying metal polish and elbow grease.
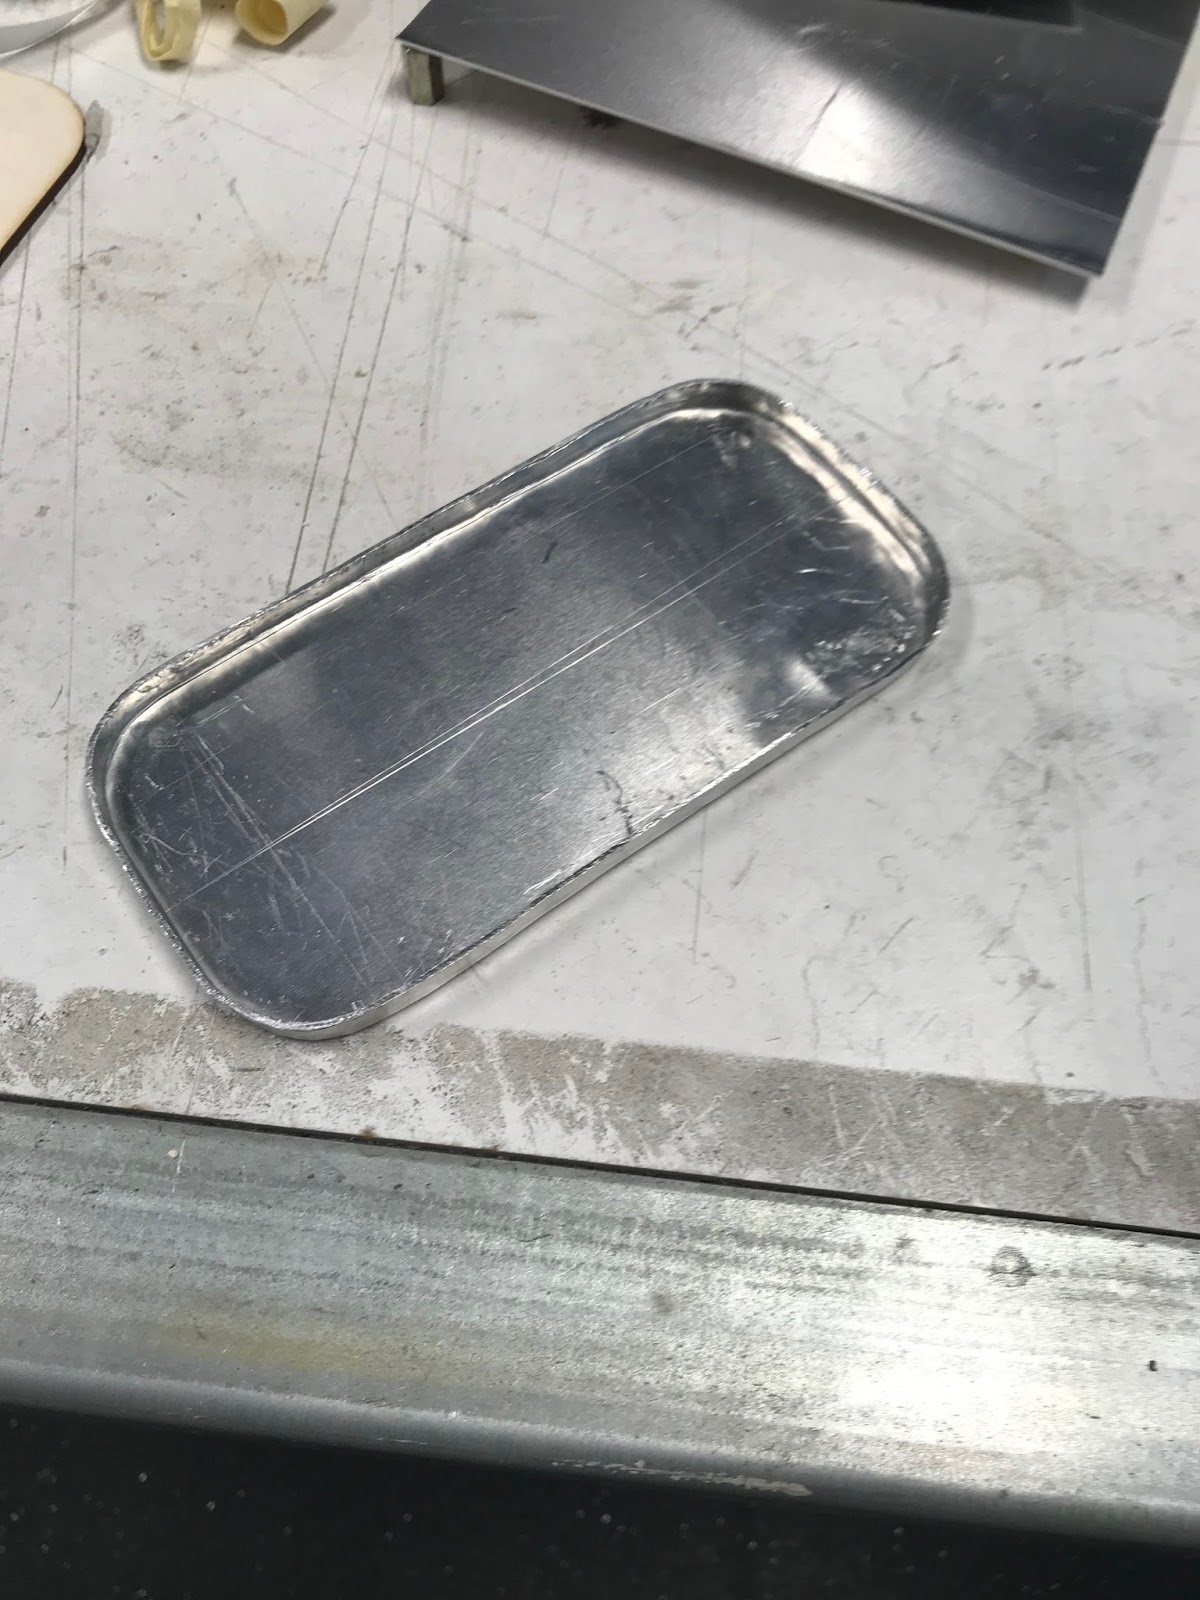
FINAL PRODUCT:
I am quite please with the finished product's look as it consists of a nice lust to its surface, while still holds craftsmanship through the curved edges. Making this object has made me realize the effort and time gone into making handmade metal worked products. The object was a bit easier than the torus due to the template and plywood bucks for assistance.
MONEY SHOT:


No comments:
Post a Comment