The Blister
PROCESS:
1. First collected a CNC cut template of a particular blister shape and used a hand router to remove the notches from the inner material to result in having two mdf templates that have identical shape.
The next step was to cut a sheet of aluminium using the guillotine with the same size of the mdf template boards. This is then secured firmly with a flat head screw and a hex nut. this component needed two people tighten it using a spanner and flat head screwdriver.


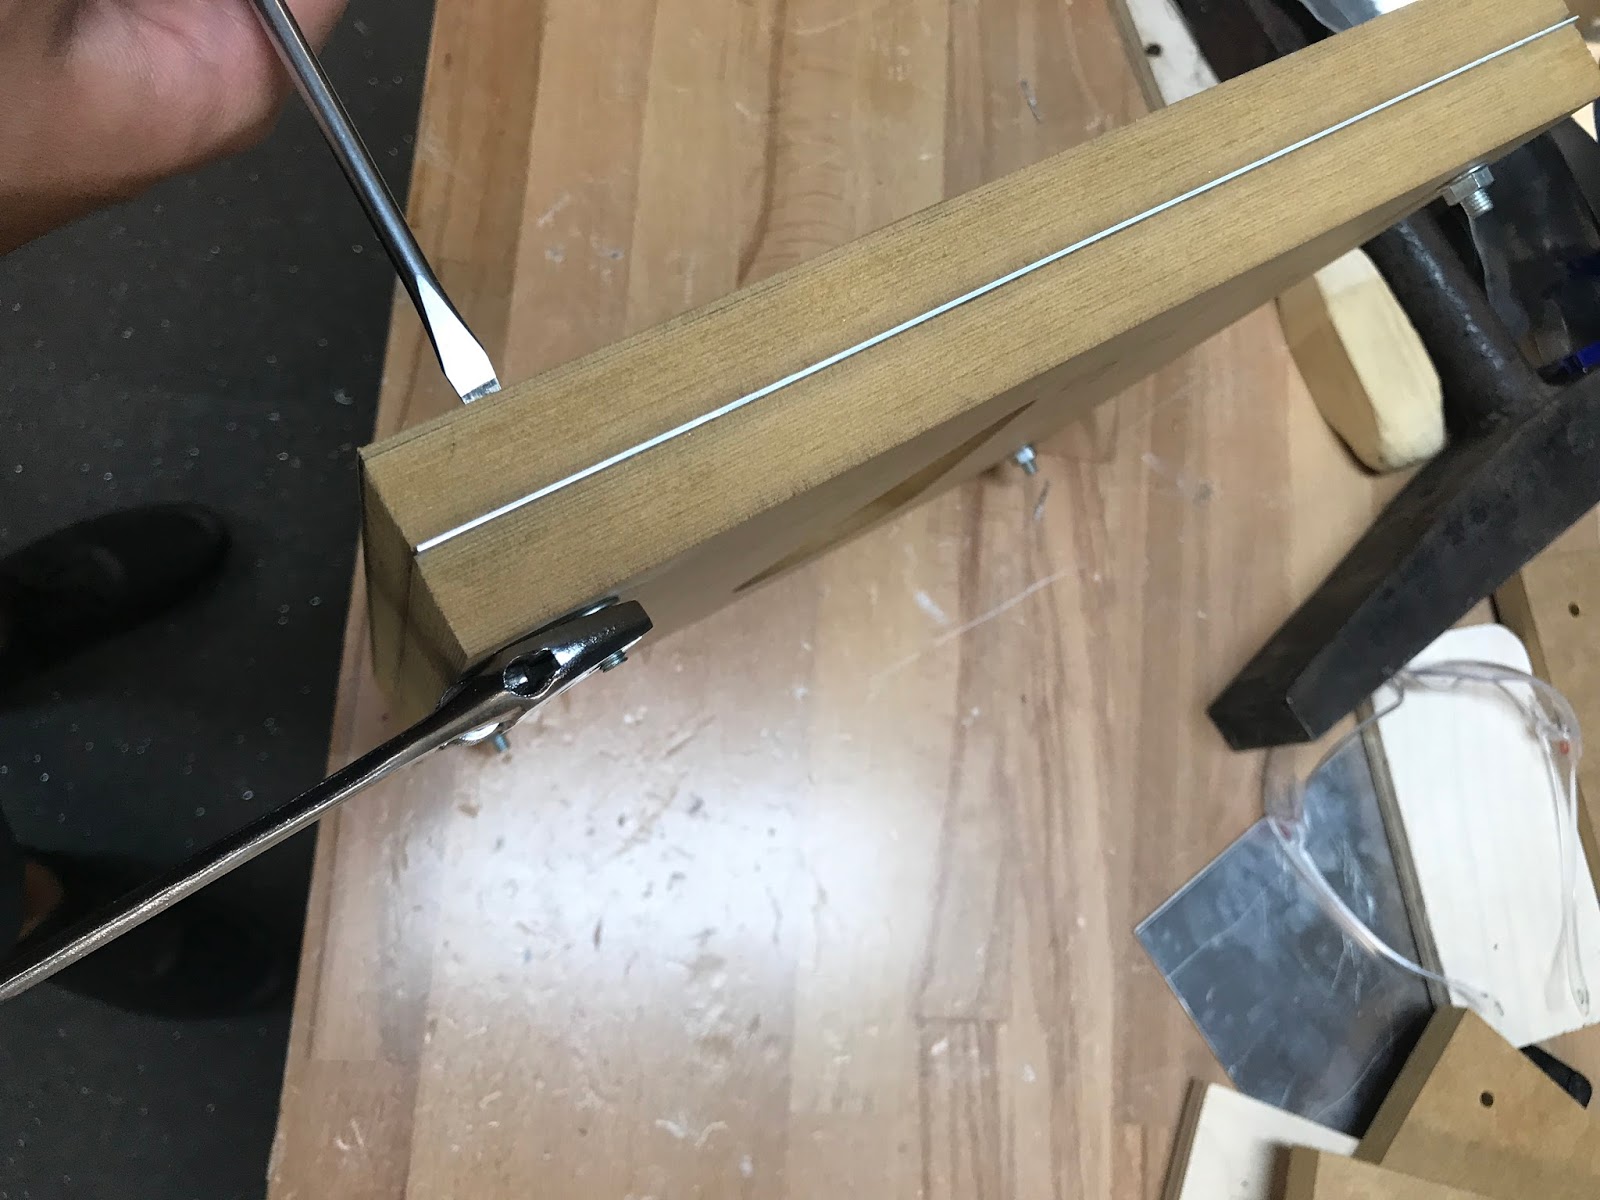
2. Here are corking tools that I made using scrap pieces of wood that will be need to have to get into tight corners where the mallets and hammers cant. These are purposely made out of wood as they will not mark or dent the aluminium. I also puckered up the template and aluminum sheet using spare wood blocks so there would be room to blister the sheet further than the thickness of the mdf. I secured this firmly down using clamps so the work piece doesn't move around whilst in contact with the mallets and corking tools.


3. Here i started of the blister using the largest radius for the mallets and using it gently to pucker down a starting curvature which would be later exaggerated through using other tools in the process.
Moving on to more finer mallets evenly around the surface this started to form the main form of the blister. This minimized the risk of denting the aluminum to far and would be a hassle to fix up in the long run.


4. Here we can see the different uses of the corking tools made via the disk sander and band saw. More finer edged corking tools where used to get right in the tight edges whereas less finer edged corking tools where used to provide a bridge between mallet stretching and edge treatment.


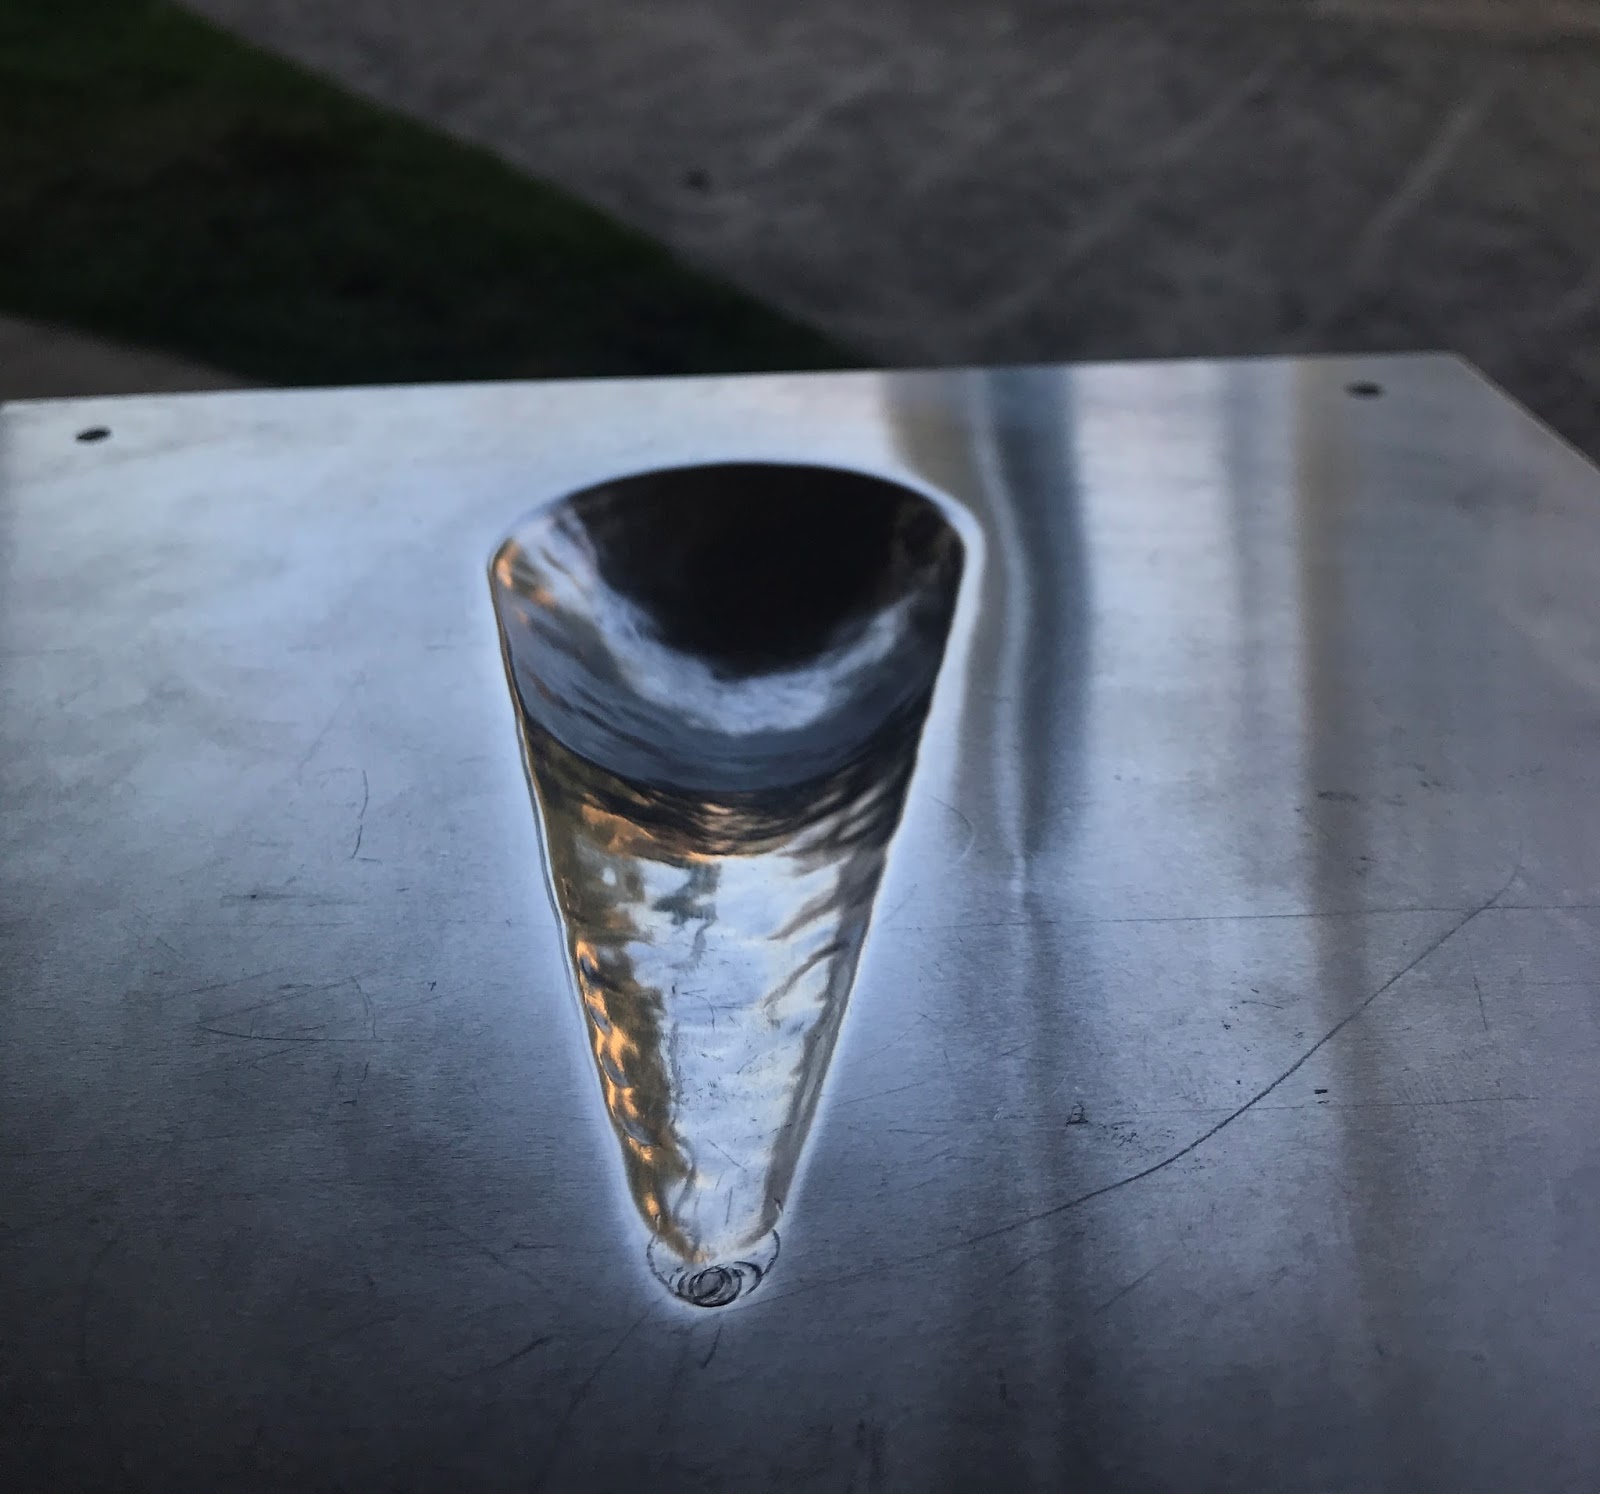
6. Once I was pleased with the curvature and degree of the blister stretching, i stopped the process and felt if the surface was smooth enough, luckily it was so from that i took it out of the template so it could be viewed and analysed as a final form and shape.


FINISHING PROCESS:
1. Once finished with the forming process I noticed some dark marks which I believe came from repetitive use of the nylon mallets and corking tools.

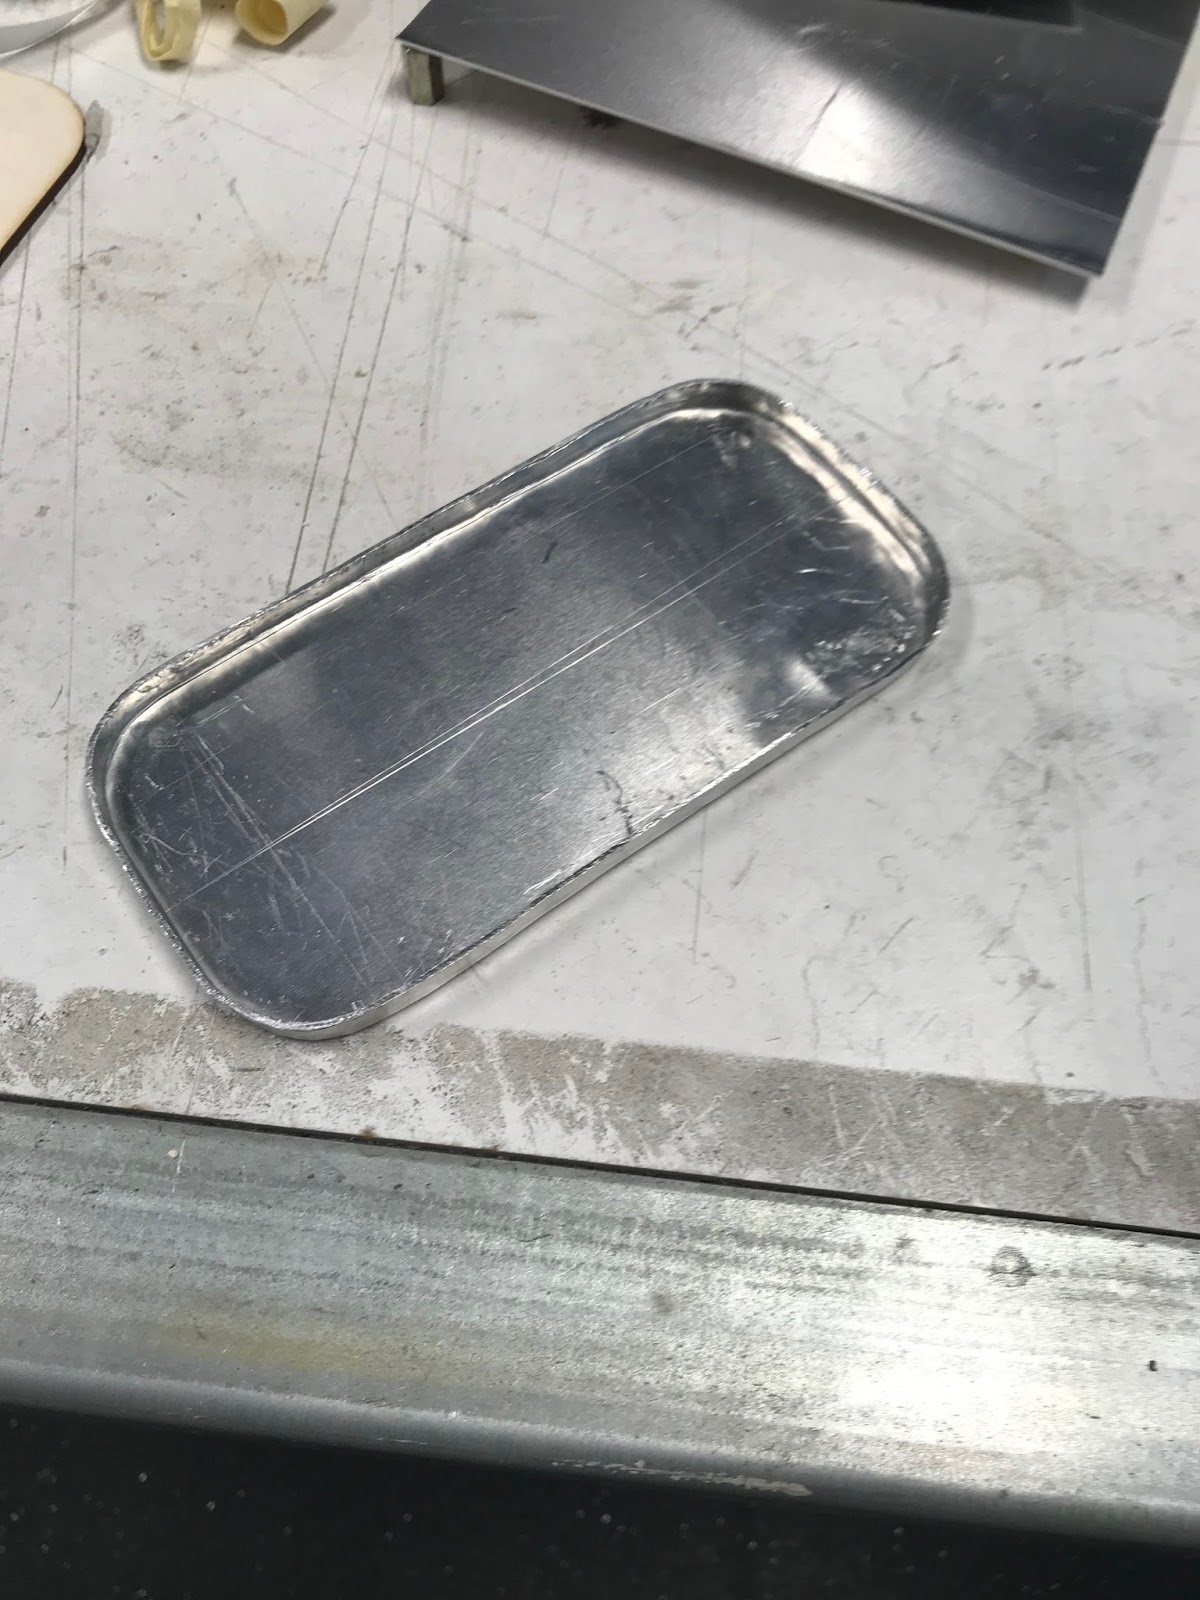
2. The dark marks where not coming off with a simple wipe or scratching them. So the aluminium needed a wipe down with methylated spirits to remove the marks. This method worked really well, shown in the result below.


3. With this piece of aluminum of the projects I wanted to aim away of getting a stainless steel look finish and directed the aim towards getting a lustrous and polished finish. This is why there was no use of 400p waterproof paper in this projects finishing process. To accomplish this I applied metal polish to the aluminium blister using a clean rage and plenty of elbow grease. The result is shown below proving the advantage of keeping the piece of aluminum clean throughout the construction process.


4. Here are photographs taken in different light levels showing the blisters lust and shine provided by the finishing process.


5. Here are images of the blisters inside polished and ultimately presenting the degree of the blister.

FINISHED PRODUCT:
In conclusion, I am quite please of how the aluminium blister turned out as its finish really came out as a lustrous and polished finish provided through the finishing process. Compared to the other pieces this one was one of the less challenging pieces due to the use of the mdf template which controlled a uniform shape throughout the stretching process. I can see how the blister would be used within industry, specifically in the use of casting, textured facades and providing forms that can have a changing degree in curvature. This improves the complexity of making forms portraying the relationship between desired shape and material.